|
|
|
Linking Objects
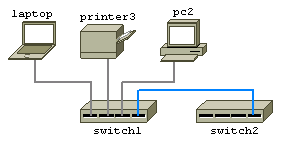
To link two objects, firstly use the Link Selection
Box  to
choose the desired type of Link. to
choose the desired type of Link.
Left Click the link button  ,
the mouse pointer will indicate you are in Link Mode.
Left Click on pairs of objects to join them. ,
the mouse pointer will indicate you are in Link Mode.
Left Click on pairs of objects to join them.
You may also Right Click an object and choose "Link"
to enter link mode.
To finish linking objects, click the link button
again.
Clicking the background whilst in link mode enables
you to form elbows and bends in links.
|
|
Tip: Double right click the
background to toggle the last used mode (Paste, Text, or Link)
off and on.
|
|
|
Linking To Part of An Object
By default, links point to the centre of an object.
You may link to any part of an object using the
Connection Points Option from the Format menu or
clicking the Connection Points Button  . .
Select Connection Points - Unlimited to link to any
part of an object or Connection Points - 1 to return to
the default setting.
|
|
|
Linking To Part Of A Background Object
By setting an object to a backgound layer and setting
Connection Points to unlimited you may link to parts of
the object, with links shown on top of the object.
See Object Properties on
how to set an object to a background layer.
See also: Customizing Link Styles
|
|
Unlinking Objects
To remove links between objects, select the objects which are
linked and then click the Unlink Button  . .
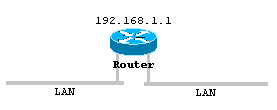
Linking An Object To A Backbone
To link an object to a backbone, click on the link mode
button
and then join the backbone to the object. It does not matter
what Link Type has been selected when doing this.
|
|
Customizing
Link Styles
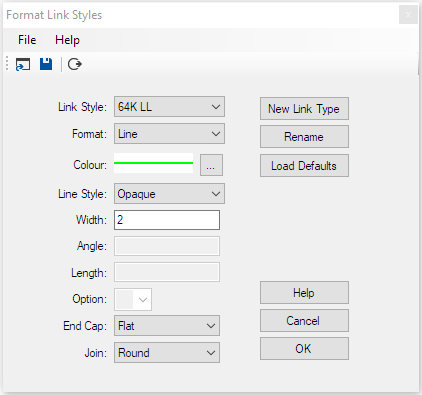
To Customize the link styles select Format from the
ring menu and then Link Styles.
Select a Link Type to customize from the Link Type
drop down box or select New Link Type to define a
new link style.
|
|
|
|
|
|
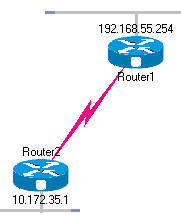
Format: Choose between Line,
Lightning, Lightning2, Arrow and Curve Styles. For the
Lightning style to be effective set the width to 14 or
more.
Colour: Select Colour of Link
Style: Select from Opaque and various dashed
line styles.
Width: Width of Link.
Angle: Selects the angle for arrow heads.
Length: Selects the size of arrow heads.
Option: 1 for Solid arrow heads. 0 for Open
arrowheads.
Endcap: Selects the endcap style for lines.
Join: Selects the join style for lines.
The Save, Load and Load Default
options may be used to load and save a selection of link
styles. Link styles are also saved with diagrams.
|
|
|
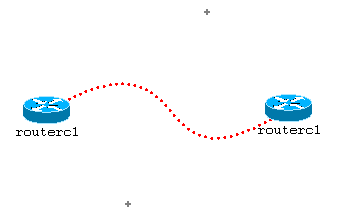
Curve link styles
Curved link styles use one or two link nodes to act
as control points for the curve. From the ring menu
select "Options" and "Show Link nodes" to display link
nodes while you are drawing curves.
Click the first object, click the background to place
the first control point, click the background again to
create a second control point and then click the second
object to complete the link.
|
|
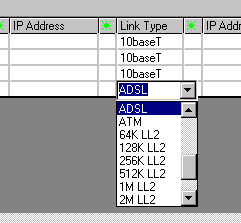
The Links Table

| |
The links table shows a table of all the connections
to an object.
Clicking any column heading sorts the table by that
particular column.
An IP Address, Hostname and Comment may be entered
for each end of each link.
The  columns are drop-down boxes from which you choose the
display position relative the object for the IP
Address or Hostname.
columns are drop-down boxes from which you choose the
display position relative the object for the IP
Address or Hostname.
The "Add to table"/ "Remove from table" buttons are
used to transfer or remove the object's principal IP
address and Hostname to/from the table. To enable this
button, you must highlight one of the rows by clicking
column 0.
Changing Link Types
To change a link type for any of the connections,
click a box in the Link Type column and choose the new
link style from the drop down list.
|
|
|